Scheduled Reports are sent around 2am EST based on the data that is currently synced with the DTN AP. At this time, you cannot customize the Scheduled Report send time.
| 1. On the Reports menu, click Scheduled. | 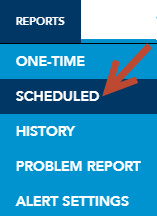 |
| 2. Click on + Schedule New Report | 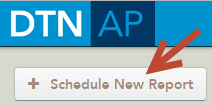 |
| 3. Enter in the e-mail address(es) you would like for this Scheduled Report to be sent to. | 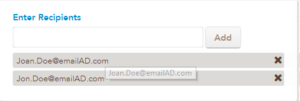 |
| 4. Select the Fields you want to monitor for new activity by clicking on the Field from the Unselected Fields column.Selected Fields will now show under the Selected Fields column. | 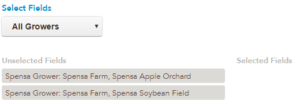 |
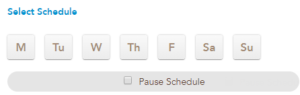
| 5. Select the days of the week you want to monitor for new activity.
You can select one day or all seven to monitor for activity. If you need to pause a scheduled report, check the Pause Schedule button, making sure you submit the new changes. |
 |
| 6. Enter an optional Report Name/Subject Line for this Scheduled Report | 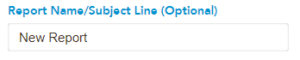 |
| 7. You can select the options to include in each scheduled report via the Email Report Options | 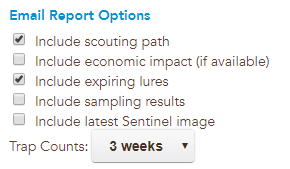 |
| 8. Once you have entered in all of the information for this Scheduled Report, click the Submit Schedule button |