Field Analysis Package
| Select the Field you would like to create Dispatches on. | 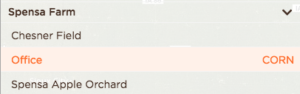 |
| Click on Dispatches. |  |
| Click on + Add a new dispatch. |  |
| You have several options to choose from while creating a new Precision Dispatch:
|
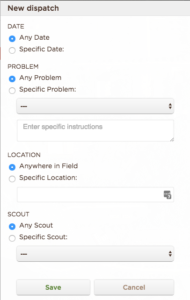 |
| Once all of the data is filled out, click the Save button to record your PD. | 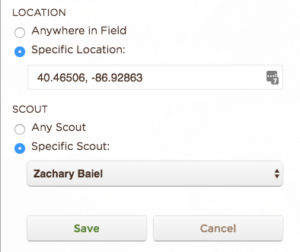 |
| You will see the Precision Dispatches in the sidebar. | 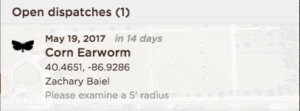 |
Your scouts will need to pull-to-refresh their DTN AP apps to download the latest Precision Dispatches for their account.
Panel Explanations

Field Information Tools
| Field Name | The title of the field |
| Farm | DTN AP organizes field information with an:
|
| Crop | The crop for the currently selected field |
| Hybrids/Varieties | A free-form field that allows you to record which hybrids and varieties are associated with this field. |
| Planting Date | The planting date for the field. This date will be used to calculate growth stage if applicable. |
| Notes | General notes for the field |
| Delete | Remove the current field and all of its associated data (scouting trips, traps, field records, etc.) from the current select season |
| Cancel | Cancel any pending changes to this field |
| Save | Save pending changes to this field |
GIS Tools
| Add to boundary | Create another shape, adding it to the existing boundary | |
| Cut out from boundary | Create another shape, removing it from the existing boundary | |
| Edit boundary outlines | Drag points of the current boundary to create new shapes | |
| Remove pieces | Remove shapes from the current boundary | |
| |
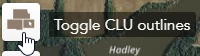
Toggle CLU outlines | Utilize Common Land Units to create a field boundary |
| |
Upload a shapefile | Upload a shapefile to overwrite the current field boundary shapes |
| |
Undo | Undo your last action |
| Start Over | Clear all existing field boundaries |
Account Info
| First name | First name of the user | |
| Last name | Last name of the user | |
| This is the account’s username as well | ||
| Phone type | The type of phone number entered for this account.
|
|
| User Type | This drop-down allows you to choose what type of User Account this is in your system.
|
|
| User Package | This drop-down allows you to choose what user package you want to grant to the selected user. You have five options:
|
User Type
Access Level
This drop-down allows you to choose what access level you want to grant to the selected user. You have three options:
| Full | View and change data and settings for growers assigned below |
| Basic | Scouting & trapping for growers assigned below
Android scouting doesn’t support Basic — will act as Read Only |
| Read-only | View growers assigned below, but not make changes. Commonly referred to as a Grower account. Users with Read Only cannot modify any information in the system, but can interact with all of its functionality. |
Growers
This list contains all of the Growers under your account. You can give a user access to specific Growers here by checking off which ones you want them to have access to.
When all of your changes are complete, click Save.
Permissions
| Administrator Rights | Super user for the account. Someone with Administrator Rights can create new accounts, see all Growers, and update all information. |
Insights Package
| On the field you want to map phenology for, select Traps. | 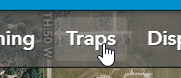 |
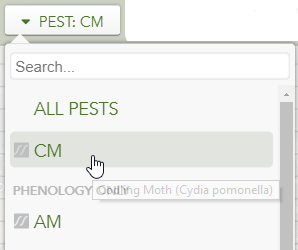
| If you select the Pest drop down, you can select which phenology model you want to graph.
This list will be generated off of the traps that are currently located in the field. |
 |
| After the insect is selected, three new buttons will appear: Biofix, Phenology, and DynamicPhenology. | |
| The Biofix will autogenerate based on the information we have available. Before graphing the phenology, please double check the Biofix. | 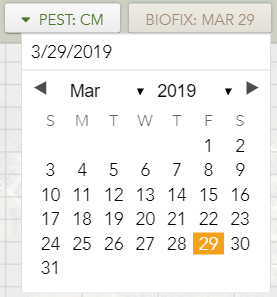 |
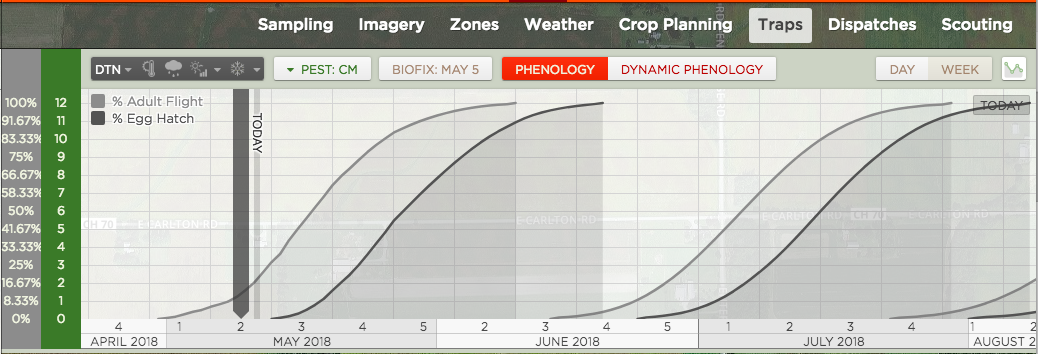
| Click the Phenology button to graph the phenology for the currently selected insect. |
Seasonal Migration
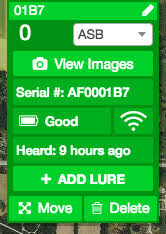
| 1. Find the Smart Trap you want to view the images of in the Field view.
2. Click on the trap to see the View Images button 3. Click on the View Images button |
 |
| 4. The left-hand sidebar will update and display the images associated with the currently selected trap. | 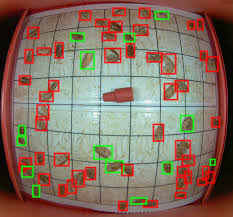 |
In this tutorial, we will walk you through how to manually enter in trap counts from the DTN AP web app.
| 1. Navigate to a field that has the traps you want to manually enter in counts for. | 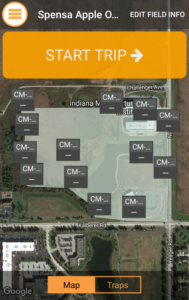 |
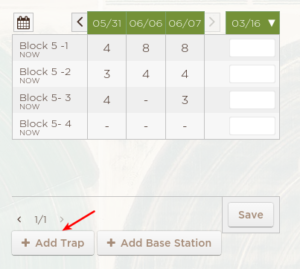
| 2. In the left-hand sidebar, select the date you want to enter counts on. | 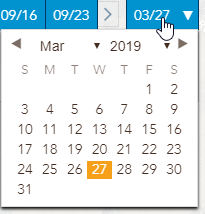 |
| 3. Type in the counts for each trap. | 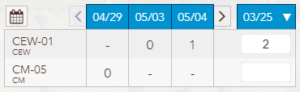 |
| 4. When you are done entering in the information for that day, click the Save button to commit the data. | 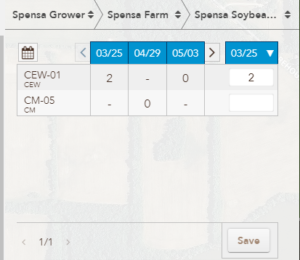 |
At this time, you can only download a single image at a time.
- Open the image.
- Right-click on the image and select Save Image As…
- Choose the folder to save the image and click Save.
The Units setting is user specific.
| 1. Click on Account->Users. | 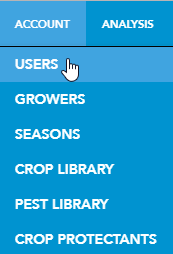 |
| 2. Under Units, click the drop-down menu to select if you want US or Metric. | 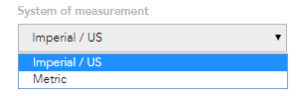 |
| 3. Click the Save User button |
How do I delete a Grower?
Warning: This will remove ALL associated data with this Grower over ALL seasons. The data is not recoverable. Please do not delete Growers unless you know you no longer want the data.
| Find the Grower you want to delete and then click on the Edit icon next to the Grower’s name |  |
| Click the Delete button on the Edit Grower dialogue box | |
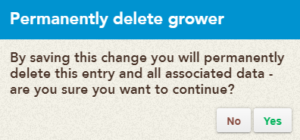
| Warning: This will remove ALL associated data with this Grower over ALL seasons. The data is not recoverable. DO NOT delete Growers unless you know you no longer want the data.
If you are sure you want delete this Grower, click the Yes button. Otherwise, click No to cancel. |
 |
| The Grower will be removed from your account. |
How do I delete a Farm?
| Find the Farm you want to delete and then click on the Edit icon next to the Farm’s name |  |
| Click the Delete button on the Edit Farm dialogue box | |
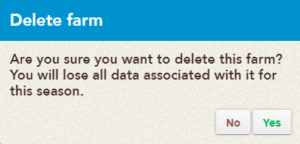
| Warning: This will remove ALL associated data with this Farm and the Fields associated with it for the CURRENTLY ACTIVE SEASON. The data is not recoverable. DO NOT delete Farms unless you know you no longer want the data from the current season.
If you are sure you want delete this Farm, click the Yes button. Otherwise, click No to cancel. |
 |
| The Farm and the Fields associated with it for the currently active season will be removed from your account. |
How do I delete a Field?
| Find the Field you want to delete and select it. | 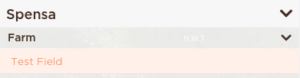 |
| Click on the Edit icon next to the Field’s name in the left-hand sidebar. | |
| Click the Delete button on the Edit Field dialogue box | |
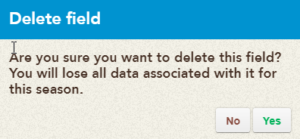
| Warning: This will remove ALL associated data with this Field for the CURRENTLY ACTIVE SEASON. The data is not recoverable. DO NOT delete Fields unless you know you no longer want the data from the current season.
If you are sure you want delete this Field, click the Yes button. Otherwise, click No to cancel. |
 |
| The Field and its associated information for currently active season will be removed from your account. |
| 1. Click on Account->Users | 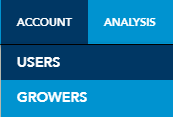 |
| 2. Type in your current password |  |
| 3. Type in your new password and then type it again in the confirmation box | 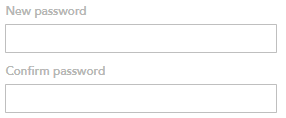 |
| 4. Click the Save User button at the bottom right |  |
Your password has now been updated.
| Click Account->Growers |  |
| Select the Grower or Fields you want to export |  |
| Click the Download Selected Boundaries button |  |
| A zip file with your shapefiles will begin to download automatically. |
DTN AP utilizes the browsers printing capabilities to print off reports. The steps below will walk you through this process.
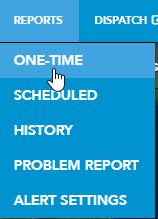
| Click on Reports, One-Time | 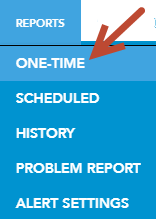 |
| Select the Trips you want to print and click Next | 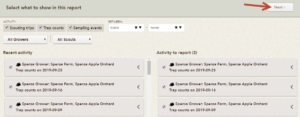 |
| Click Get Link and open the link in your browser | 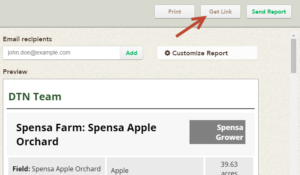 |
| Use the browsers printing capabilities to print off the report | 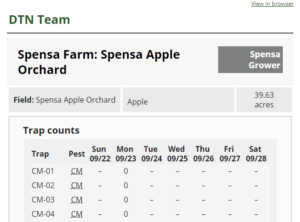 |
| Select the field you want to create the sampling order on. | |
| Click on Sampling from the menu | 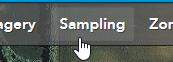 |
| Click + Set up points | 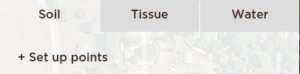 |
| You have several options for creating a new Sample Point set. In our case, we will create new points, on a grid, with a six to 12 inch sample depth. | 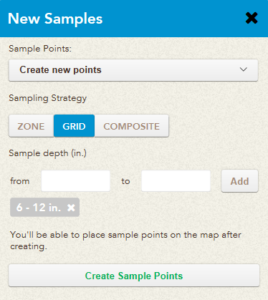 |
| In the sidebar, click the Change Sample Locations option and then Create New Grid | 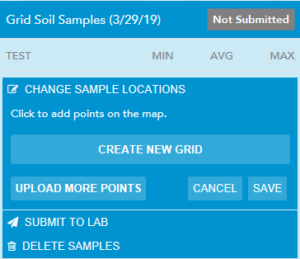 |
| Enter in the desired spacing for your grid and click Save |  |
| Now the sample points are ready to be taken in the mobile application | 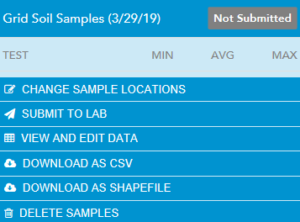 |
| Click on Account. | 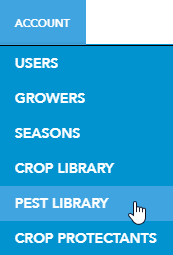 |
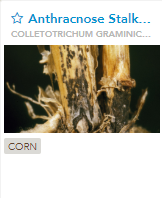
| Filter your list to the crop you want to create favorites in.
Each observation now has a star next to the common name of the observation. |
 |
| To mark a particular observation as a favorite for this crop, click on the star icon for the item.
|
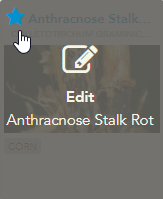 |
| This will immediately move the observation to the top with the other favorite observations. | 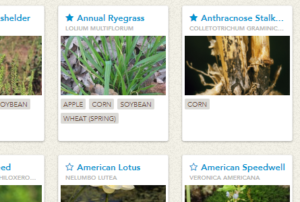 |
Repeat the process to add more observations to your favorites for this crop.
| 1. Click on the Field that contains the trap you want to update. | 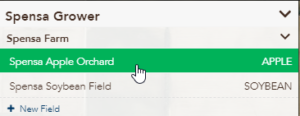 |
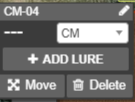
| 2. Click on the trap you want to add or update the lure information for. |  |
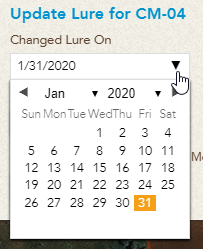
| 3. Click Add or Update the lure. | 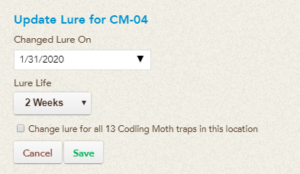 |
| 4. Select the date you changed the lure on, the lure life, and if you want to update all of the traps on this field with the same information.
5. Click Save and the lure information for that trap will be updated. |
 |
To help speed your support ticket along, including the following information will be of great assistance:
| Username | This is your e-mail address |
| Browser | Chrome, Firefox, Internet Explorer, Edge |
| Browser Version | Found under Help->About |
| Description of the problem | Use as much detail as you can, including any error codes, screenshots, etc. |
| Steps to recreate the problem | If an error occurs, try to recreate the problem again, noting your steps along the way.
This step is critical to resolving the issue. For complex issues, recording a video of the phenomena is ideal: |
When a new season is about to begin, you can initiate one in DTN AP by following the steps below.
| 1. Click on the Season tool from Account->Seasons. | 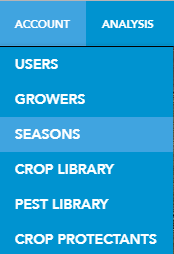 |
There are three steps to the Seasons tool: Source/Destination, Data Types, and Fields.

| 2. Select the Source Season (From) and the Destination Season (To). | 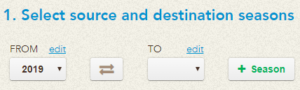 |
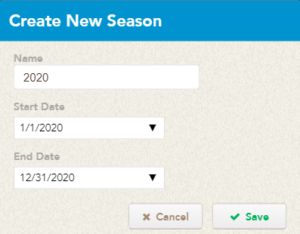
| 2b.
If the season does not currently exist, click the + Season button to create one. By default the start and end date match the calendar year. |
 |
| 3. Select the types of data you would like to migrate over to the new Season. |  |
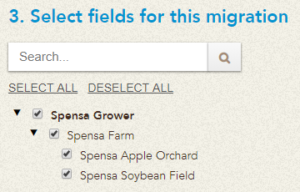
| 4. Select the Fields you would like to include in this season migration.
You can also search for by Grower, Farm, or Field name. |
 |
| 5. Once you have confirmed everything is setup the way you want it, click the Migrate button in the lower right (near the Help button). |  |
| 6. DTN AP will confirm your settings, asking you to click Yes to proceed or No to cancel. | 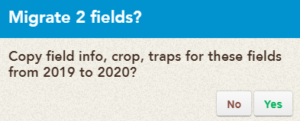 |
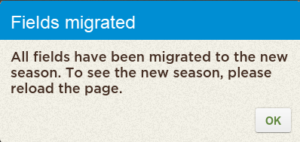
| 7. DTN AP will confirm that the migration was successful.
In order to see the changes, you will need to reload your page. |
 |
Moths per day:
When a manual trap is checked, the number of moths found is the total accumulation since the last check. For example, if I check a trap on Monday and then again on Friday, the moths I count on Friday were caught on Tuesday, Wednesday, Thursday, and/or Friday. Since we cannot know which day the moths were caught, the system assigns the average number of moths to each day. So if I count 6 moths on Friday and the last check was Monday, it would assign 6 / 4 = 1.5 moths to each day for Tuesday through Friday.
Moths per trap per day:
Trapping is a random sampling of the insect population and there can be large variations in the number of insects because of this even if the underlying population is the same. Averaging the trap counts across a field reduces the impact of random variation and can result in a more accurate estimate of the underlying population. The average is computed per day based on the moths per day calculation above. Note that the first count a trap receives is averaged over the last 7 days (inclusive of the day of) since we don’t have a previously checked date to go off.
* per week:
When the graph is in week view, the moths per day for each day in the week are added together and the result is shown. It adds each individual trap’s daily average for the week, but does still average those sums across the traps involved on the graph. Weeks are currently defined as Sunday – Saturday.
You can reassign a trap to another field by dragging and dropping the trap onto the field on the map. To move the trap:
1. Navigate to the field where the trap currently exists.
2. Click on the trap to expand and view more details.
3. Click the “Move” button in the trap details.
4. Point, click, and drag the location icon that appears to the new field. Press Save.
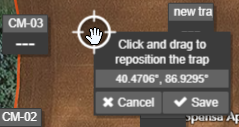
5. When prompted with the Change Field message, click the radio button next to the correct field. Once selected, click Move Trap.
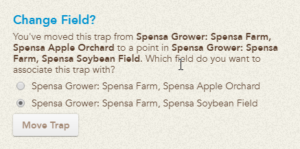
6. The trap will be reassigned to the field chosen.
| 1. Expand the Grower that contains the Farm you.
2. Click on the Edit icon for the Farm you want to move.want to move. |
 |
| 3. Click the Grower drop-down menu and select the Grower you want to move the currently selected farm to. | 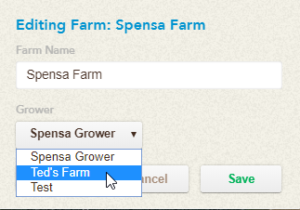 |
| 4. Confirm the selection and then click the Save button. | 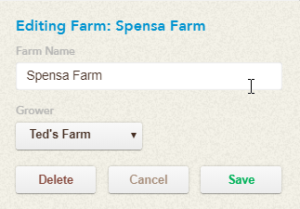 |
The Farm will now be underneath the Grower you selected in Step 3.
Here is an animation demonstrating the steps listed above:

| 1. Go to ap.dtn.com. | |
| 2. Click on the Forgot your password? link. | 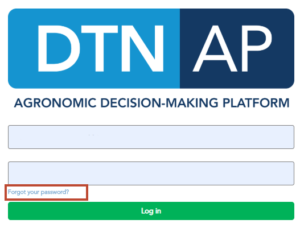 |
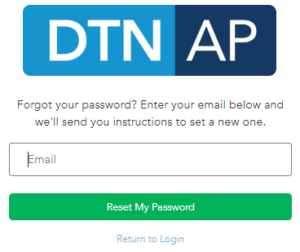
| 3. Fill out the form with your e-mail address.
4. Click the Reset My Password button. |
 |
| 5. Check your Inbox for an e-mail from n[email protected] and click on the URL to reset your password. | 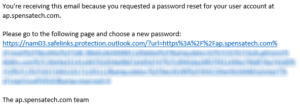 |
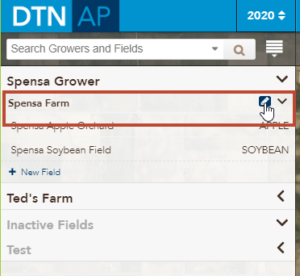
1. Select the Field you want to move from the Grower, Farm, Field sidebar. 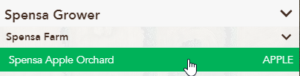
2. Click the Edit button. 
3. Click the Farm drop-down menu and select the Farm the Field should belong to.
If you need to change the Field to a Farm on another Grower, select the Grower first and then choose the appropriate Farm.
In this case, we are moving from Jimmy C Farms to Spensa Farm

4. Click the Save button. 
Now the Field you selected will belong to the selected Farm.
Areas are a way to manage different divisions, ag centers, or offices within a single organization.
Here is a sample Areas module setup with two regions, Northern and Southern.
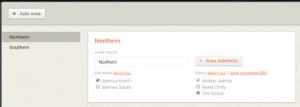
The sidebar of the Areas module will list the all available Areas for the particular account. In this case, Northern and Southern, are the two Areas available.
| How do you add new Areas to an account? | You can add a new Area by clicking the + Add Area button. |
| What are Area Admin(s)? | Area Admin(s) are assigned to each Area, allowing them to manage the Growers, Users, and Permissions for each account under their Area. |
| What if I want to add a Customer account to an existing Area? | By default, Accounts, listed as Customers do not show up in the Users list. You can show them by clicking on the Show Customers link. |
Scheduled Reports are sent around 2am EST based on the data that is currently synced with the DTN AP. At this time, you cannot customize the Scheduled Report send time.
| 1. On the Reports menu, click Scheduled. | 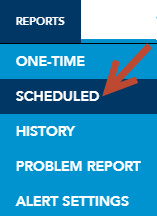 |
| 2. Click on + Schedule New Report | 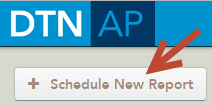 |
| 3. Enter in the e-mail address(es) you would like for this Scheduled Report to be sent to. | 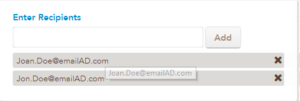 |
| 4. Select the Fields you want to monitor for new activity by clicking on the Field from the Unselected Fields column.Selected Fields will now show under the Selected Fields column. | 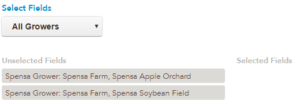 |
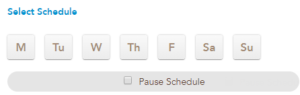
| 5. Select the days of the week you want to monitor for new activity.
You can select one day or all seven to monitor for activity. If you need to pause a scheduled report, check the Pause Schedule button, making sure you submit the new changes. |
 |
| 6. Enter an optional Report Name/Subject Line for this Scheduled Report | 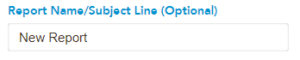 |
| 7. You can select the options to include in each scheduled report via the Email Report Options | 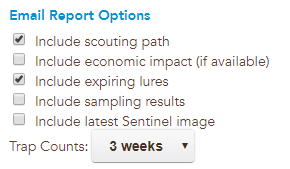 |
| 8. Once you have entered in all of the information for this Scheduled Report, click the Submit Schedule button |
| 1. Click on the Traps tab from the global view | 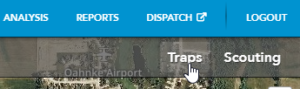 |
| 2. In the sidebar, expand Export | 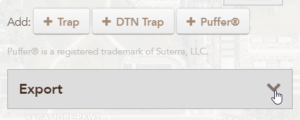 |
| 3. Choose the settings for the type of export you want for your export | 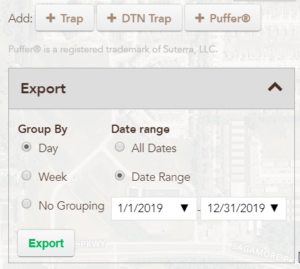 |
| 4. Click Export to download a CSV of your information | 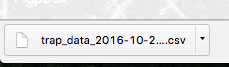 |
| 1. Select a field from the Grower/Farm/Field sidebar. |  |
| 2. Click the Edit button. | 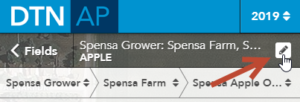 |
| 3. Click the Delete button. | 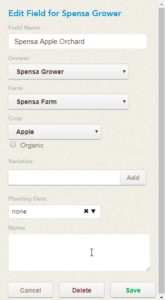 |
| 4. Select confirm that this is the field you wish to delete for this season.
NOTE: All of the data for this current season will be lost once the field is deleted. |
 |
Animation for How do I deactivate/delete a field for this season?

- Navigate to the field you want to add a trap to
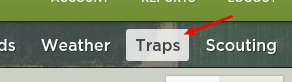
- From the Tool Bar, click on Traps
- From the Sidebar, Click on Add Trap

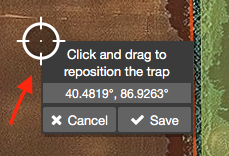
- Drag the location icon to the place the trap in the correct location.
- The coordinates will be displayed to help provide exact locations.
- Once the trap is in the correct location, click on Save
- Update the trap information as needed.
- You can give your trap a special name (e.g. Block 5-1) in the field labeled New Trap
- You can specify the insect you are trapping via the drop down selector (default is ASB)
You have now successfully added a trap to the field. The next trap you place will remember the previous trap’s pest, so you can add all of your navel orange worm at once without having to select NOW each time you add a new trap.
The trap information is saved as you go in the web app.
- Once you have logged into OpenScout, click on Account in the upper right hand corner

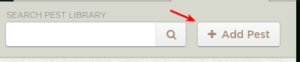
- Click on Pest Library

- Click on Add Pest
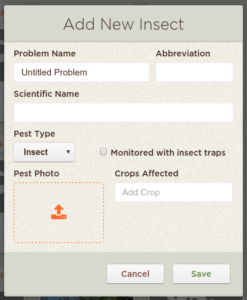
- Fill in the information for the type of observation you are adding to the Pest Library
- It is OK if you don’t know the scientific name.
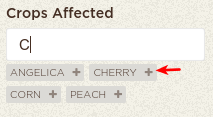
- To make the observation show up under the Crop Pest List, add the crop to the Crops Affected section.
- To do this, start typing the crop’s name
- Then click on the “+” next to the crop.
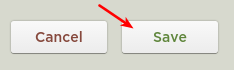
- Click Save
The observation has now been successfully added to the Pest Library. To have this new item show up in your mobile application, you will need to log out and back in.
Before you can create a Field, you need to Create a Grower.
We also have a more in-depth explanation of the New/Edit Field controls.
| 1. Click on the New Field button underneath the Grower you wish to add a field. | 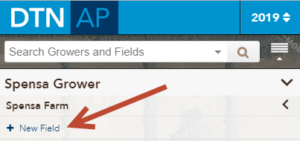 |
| 2. There are three ways to create a new field in DTN AP:
a. Uploading a shapefile. b. Drawing a boundary on the map. c. Utilizing Common Land Units (United States only). You can also navigate to a particular location by typing in the full or partial address into the Search box. |
 |
| 2a. To upload a shapefile, click the Shapefile button and then navigate to the location of the shapefile on your computer. Select the file and then click Open. If the system can read the file, you will then be prompted to name your field.
If you run into any issues uploading a shapefile, please contact us at o[email protected].
If you need assistance uploading a considerable number of shapefiles, please contact us at o[email protected] to discuss import options. |
 |
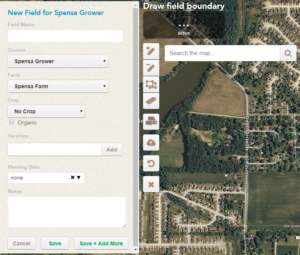
| 2b. To draw a field boundary, click the Add to Boundary button to activate the drawing tool.
Create your field boundary by clicking on the map to leave points on the field. To close the boundary, click on your first point. You will then be prompted to name your field. |
|
| 2c. To create the field using Common Land Units, click the CLU button and then zoom into the map until the Loading Boundaries notice appears. Once the CLUs are loaded, you can click on any one of them to create a field with this shape. |
|
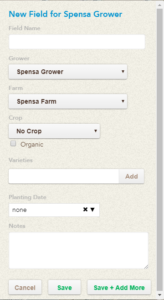
| 3. After the field boundary is created, you will need to enter in the Field Details.
Once all of the data has been entered, click Save. |
 |
| 4. Once the Field is created, you will see it on the map and be presented with the ability to review information about the field.
You are now ready to start using this field. |
| 1. Click on Account->Users. | 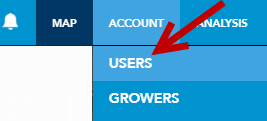 |
| 2. From the Users tab, click the Add User button. | 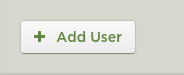 |
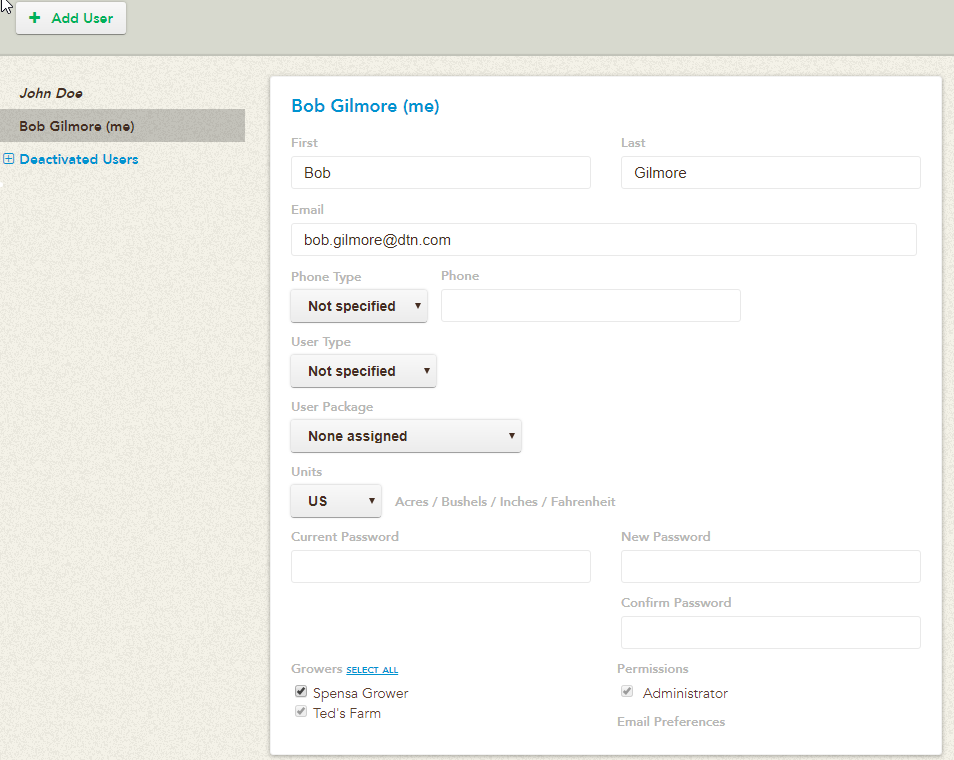
| 3. Fill out the information for your new sub-account (e.g. First Name, Last Name, E-mail address, etc.).
You can also specify the Access Level, grant the user access to specific growers, make them an Administrator, and enable weekly Alerts and imagery notifications. |
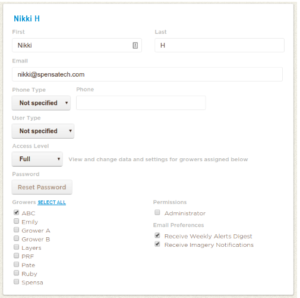 |
| 4. Once you have filled out all of the information, click on the Save User button. |  |
| 5. Once the new user has been saved, click the Reset Password. This will have the DTN AP system send the new user an e-mail with a link to setup their account and create a password. |  |
Animation for How do I setup a new sub-account?
| 1. Select the Field you wish to edit. | 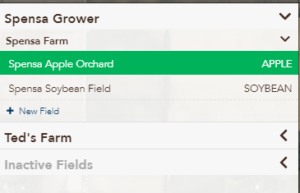 |
| 2. Click the Edit button. | 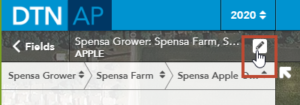 |
| 3. Click the Edit Boundary Outlines button. |  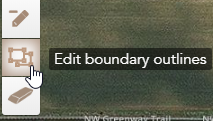 |
| 4. The field boundary will now show points that you can adjust to manipulate its shape. Click the points to drag and drop them to the correct position. | 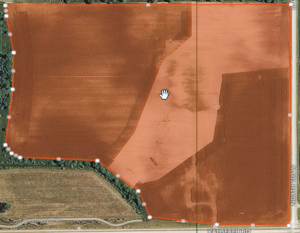 |
| 5. When you are done moving the field boundary to the desired shape, click the Save button. | |
| 1. Click on the Scouting button. | 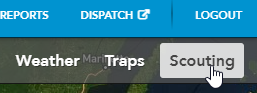 |
| 2. Locate the trip you wish to delete from the list in the sidebar. You can filter by grower, Farm, and Field.
|
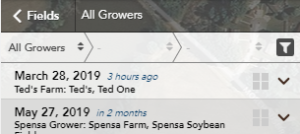 |
| 3. Click on the drop-down arrow to expand the trip and view details. | |
| 4. Click on the Delete trip button. | 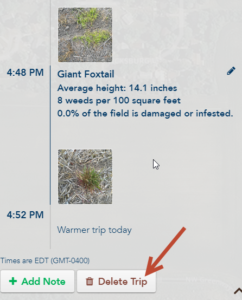 |
| 5. When prompted, if you are sure you wish to delete the selected trip, click Yes. Otherwise, click Cancel. | 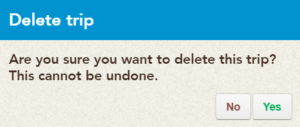 |
Animation of How Do I Delete a Trip?
1. Select One Time from the Reports drop-down menu.
2. Select on the trip you wish to send from the list by clicking the checkbox.
3. Click on Next.
4. Add trip comments and email recipients. You may also choose to include the scouting path and economic impact in the report by selecting the check boxes.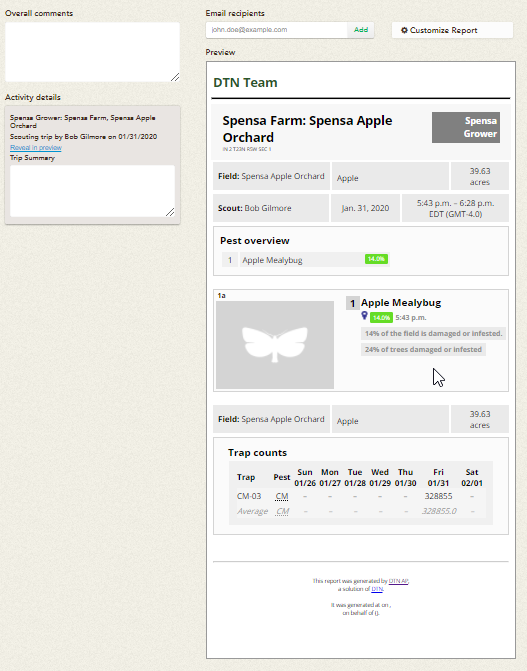
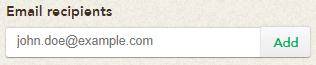
5. Enter an email address in the Email Recipient field and click Add.
6. Review the report, then click Send Report. 
7. Once the trip has been sent, you will be notified that the Report sent successfully. 
| 1. Select One Time from the Reports drop-down menu.
|
|
|
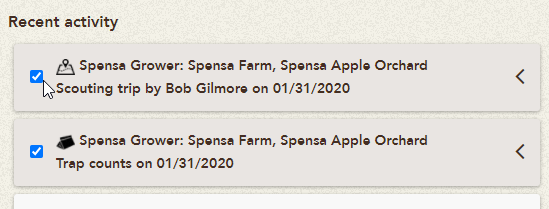
| 2. Select the type of activity you would like to report.
|
|
|
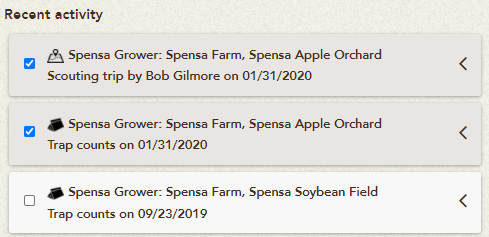
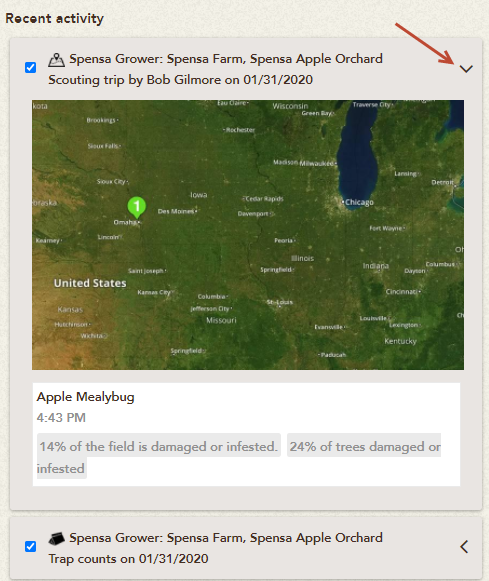
| 3. Activities will appear under Recent Activity. Click the checkbox next to each activity you would like to include in the report. Once selected, the items will appear under Activity to report.
|
 |
|
| 4. Click the arrows for each activity to preview the report information before selecting.
|
 |
|
| 5. When finished selecting, click the Next button.
|
||
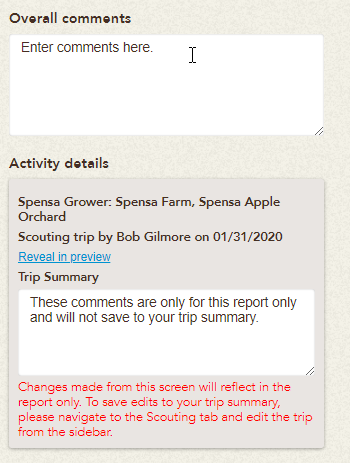
| 6. Customize the report by adding overall comments and individual trip comments in the appropriate textboxes. These comments will appear in the report.
|
 |
|
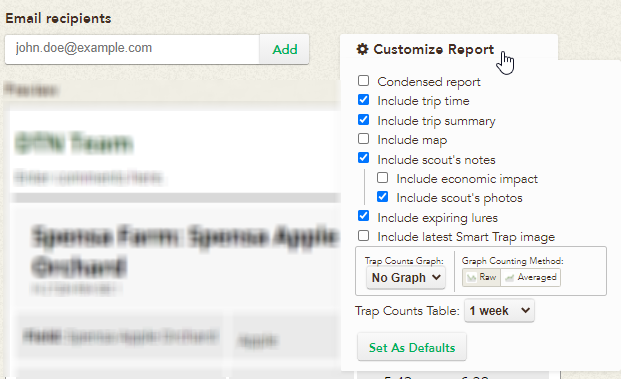
| 7. Add email recipients by typing in the email address and clicking Add.
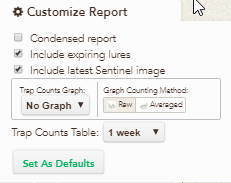
Add features to include in the report by clicking Customize Report.
|
  |
|
| 8. Email the report by clicking Send Report.
|
||
| 9. You will see a message that states “Report Sent Successfully” when the report has been sent.
|